In this guest blog post, sewing YouTuber Melanie Ham gives a tutorial about how to sew a simple drawstring bag that you can make and send to the sponsored child who chooses you! Read about Melanie’s experience traveling to Ecuador last month, where she met the child who chose her, and watch how to make this simple, special gift.
* * *
Hi everyone! Welcome to this fun, simple, and fast sewing tutorial about how to sew a drawstring bag. If you scroll to the bottom, you can see a no-sew version as well.
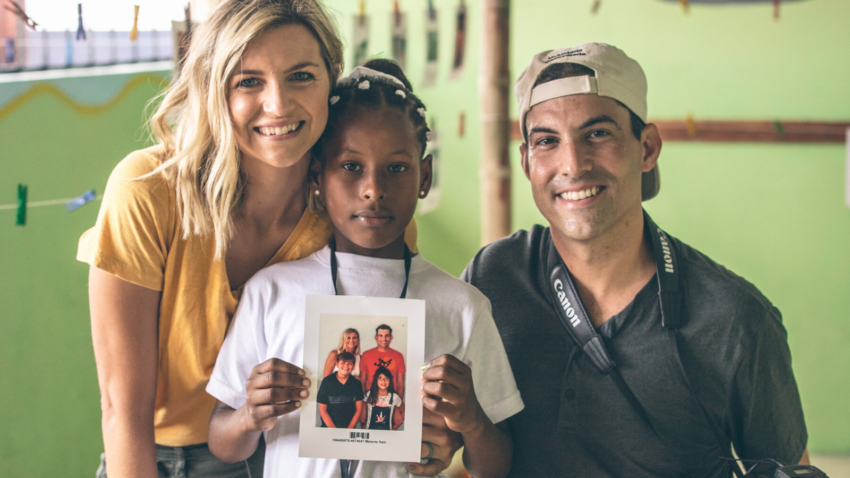
Last month, I traveled to Ecuador to help World Vision launch a whole new way of connecting children with sponsors. I had the chance to personally participate in Chosen, and I wanted to bring a small gift to give to the child who would choose us. So I made one of these drawstring bags and gave it to Vanessa.
You can check out all the details of that trip in this post, and meet Vanessa in my new video!
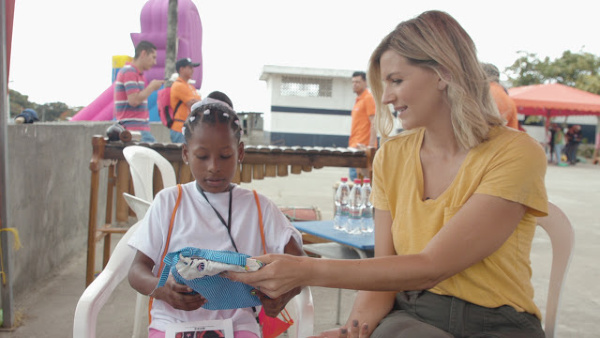
Chosen — which empowers children to choose their sponsor — is such a sweet reminder about God’s love for us, that he chose each of us. I am so proud to help support such a great organization! On our Ecuador trip, we got to see firsthand what it looks like for children and families to be empowered through World Vision’s work, and Chosen takes that empowerment one step further.
I’ll have more videos coming about my trip, so make sure you subscribe to my YouTube channel!
Since I wanted to make this gift for the child who would choose me, I thought I would do a tutorial on it, because I’ve had lots of requests for more simple sewing projects. These would be great party treat bags, travel bags, kits for the homeless … the list is endless.
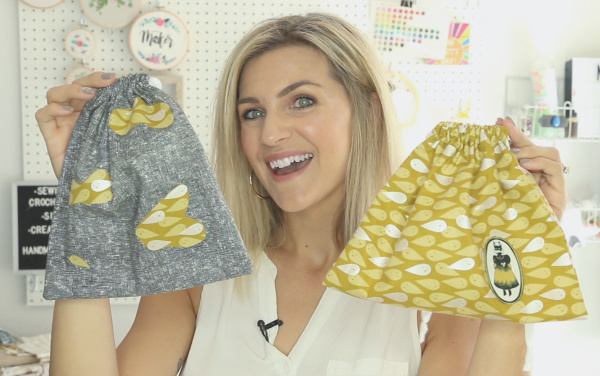
Once you have a sponsored child — whether they chose you or you chose them — and you make your bag, you can send it to them! You can mail gifts that fit in a 9×12 envelope, which is perfect for this bag and maybe even something else. You can find shipping instructions here.
Our Ecuador trip may be over, but you can still sign up to be chosen! A child from anywhere in the world that World Vision works can be the one empowered to choose you. Sign up to be chosen here!
How to sew an easy drawstring bag
Materials
- Sewing machine and thread (No-sew option: Fabri-tac glue)
- Iron/ironing board
- Pins/clips
- Safety pin
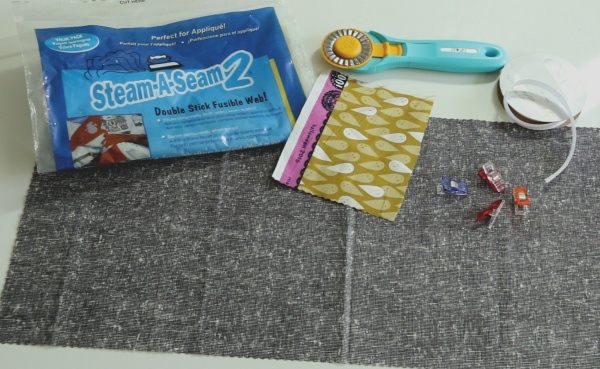
- Piece of fabric that measures 10×18
- Pinking shears or pinking rotary blade
- (2) Pieces of ribbon about 22-24 inches long
- Optional: Fabric scrap for appliqué and double-sided fusible web
Instructions
- Cut the fabric with pinking shears or blade so it measures 10×18. If you don’t have those, you can zigzag all the way around your rectangle.
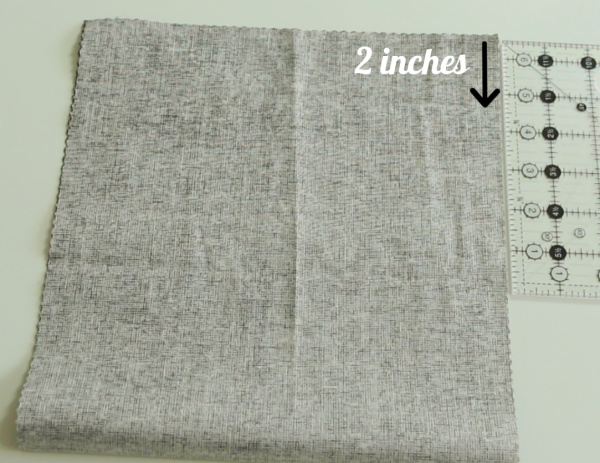
- Place the right sides together and measure down from the top 2 inches, and make a mark with chalk or a pencil.
- From that mark, sew a straight stitch down on both sides using a 1/4 seam allowance.
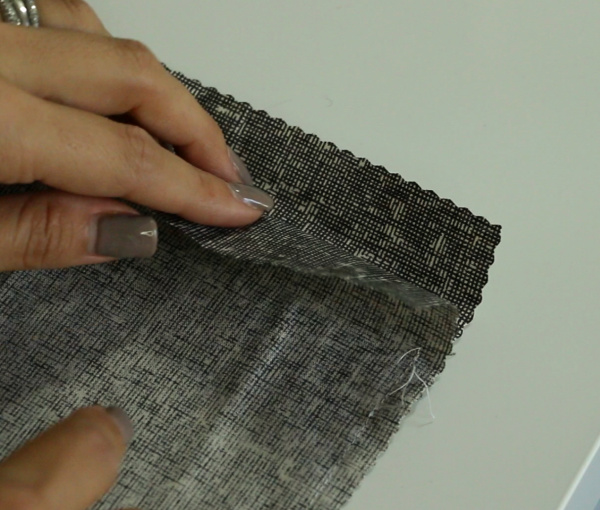
- Fold down the top so the raw edge matches with the beginning of the stitch. Press in place.
- Expose the free arm of your sewing machine if you can. With the bag still inside out, sew the top hem with a straight stitch all the way around.
- Turn right-side out.
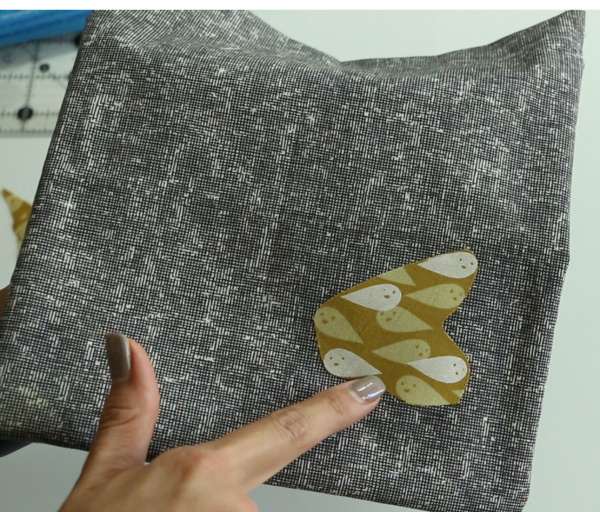
- Prepare your applique piece per manufacturer’s instructions on the package of your fusible web. (Optional)
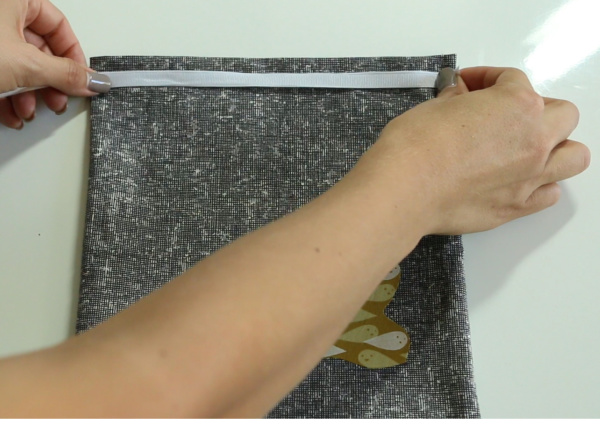
- Measure across your bag 2.5 times and cut. You need two strings of ribbon this size.
- Using the safety pin, thread the ribbon starting on one side and coming out the same side. Then thread the second ribbon from the opposite side. Tie knots at the end of the ribbons. You’re done!
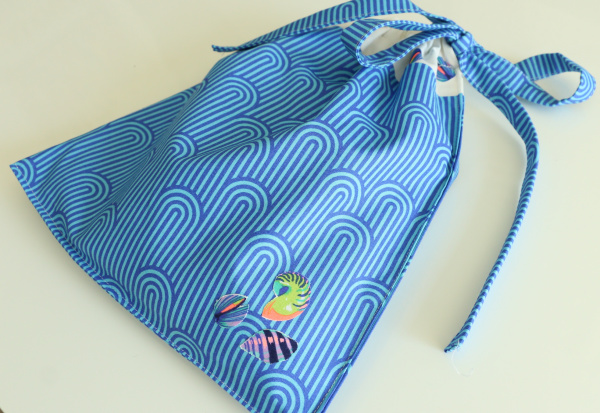
Here is the bag I gave to Vanessa, my sponsored child in Ecuador who chose me! It looks a little different because I streamlined the pattern to make it easier as a tutorial, but I had already made this one.
No-sew drawstring bag
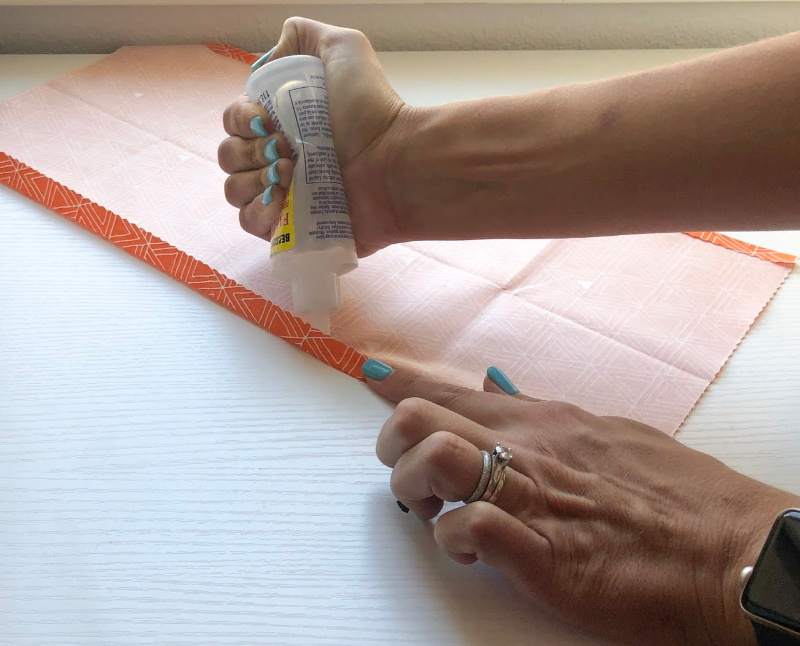
- Place your cut fabric wrong-side up. It’s helpful to press the long-side edges over about 3/8 inch.
- Place a bead of glue inside the fold and press down with your finger as you move along the side of the fabric.
- Do this on both sides.
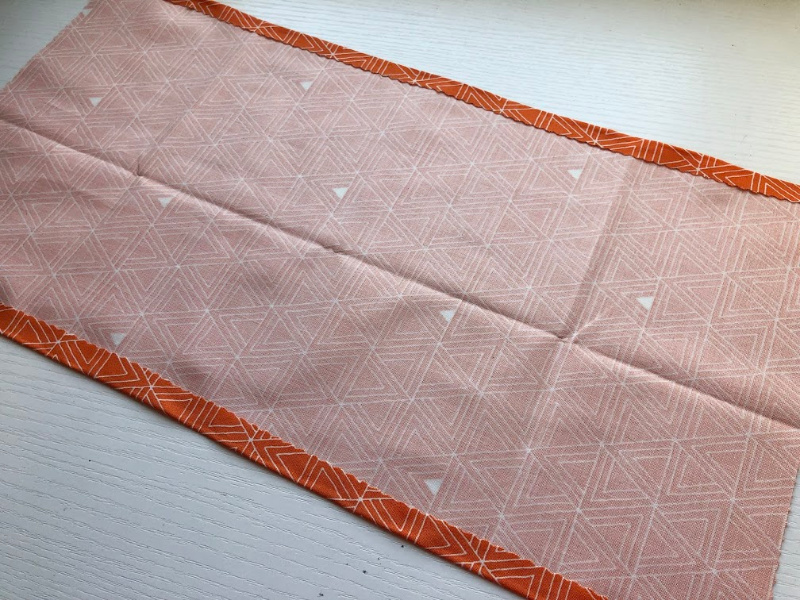
- Here’s how it looks with both sides complete.
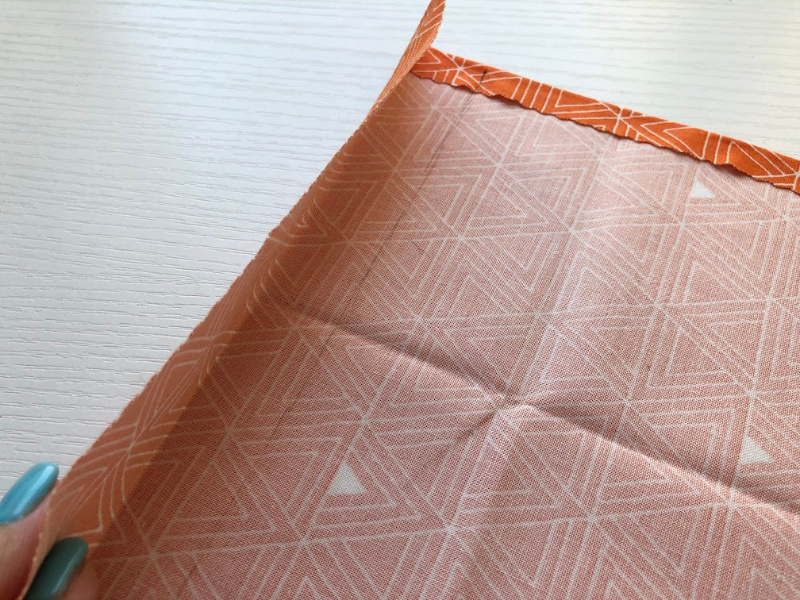
- Press the short sides over about 1/14 inch.
- I sketched out a line with a pencil to have a mark to follow my bead of glue to keep it straight. Just make sure there is enough room to thread through your ribbon for the tie.
- Do this on both short sides of your fabric.
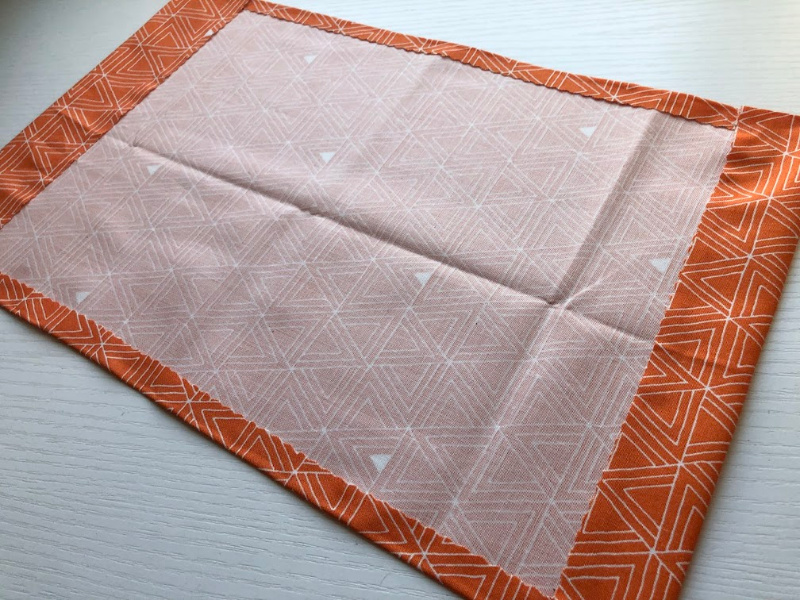
- Here is how it should look so far.
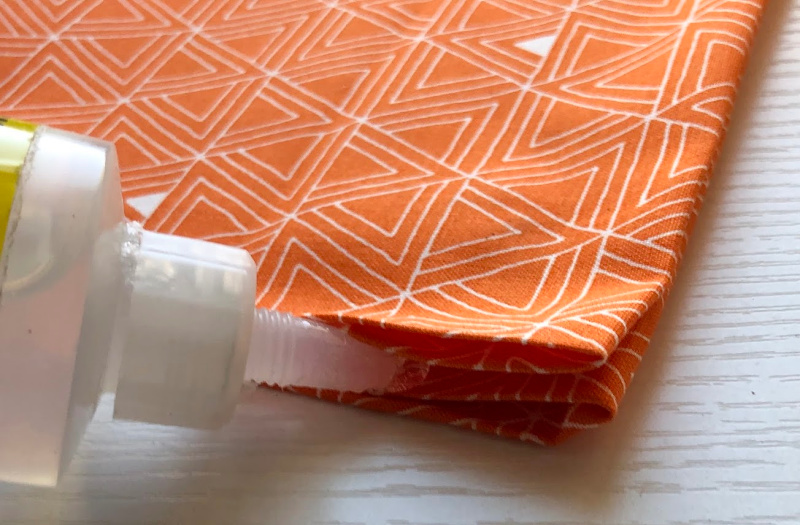
- Place the wrong sides together and glue the sides together starting here, about 1 inch down and working your way to the bottom of the bag.
- Do this on both sides.
- Let the glue completely dry before threading your ribbon/twine through your casing as shown in the sew version.
You’re done!
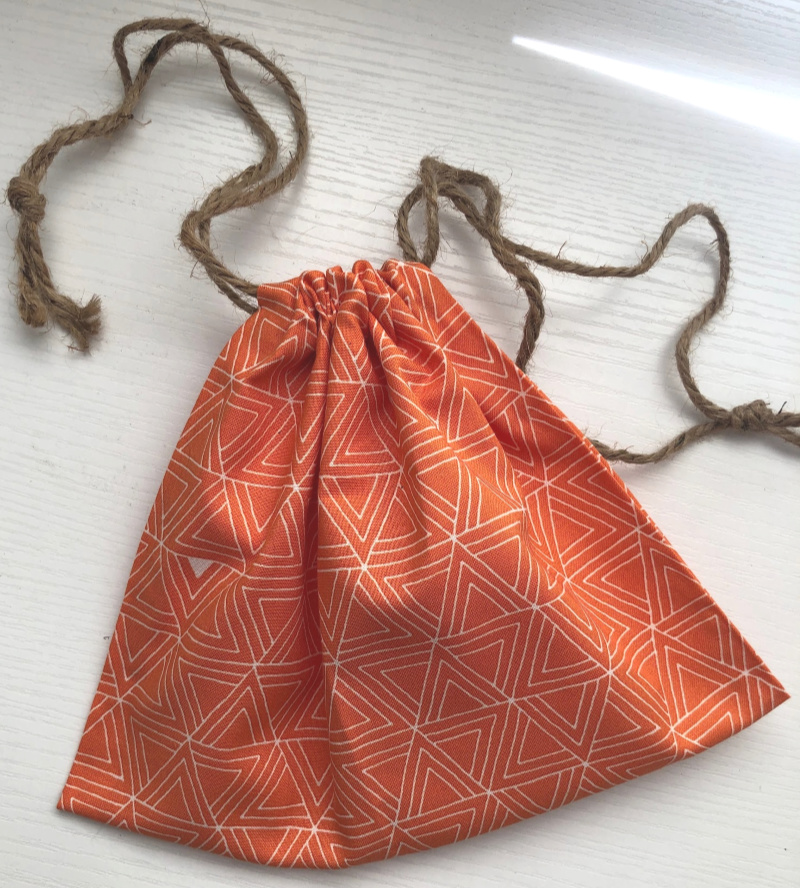
Happy sewing!
Watch this sewing tutorial on YouTube here:
Though our Ecuador trip is over, you can still sign up to be chosen! A child from anywhere in the world that World Vision works can be the one empowered to choose you. Sign up to be chosen!
This post was originally published at melaniekham.com.


Comments